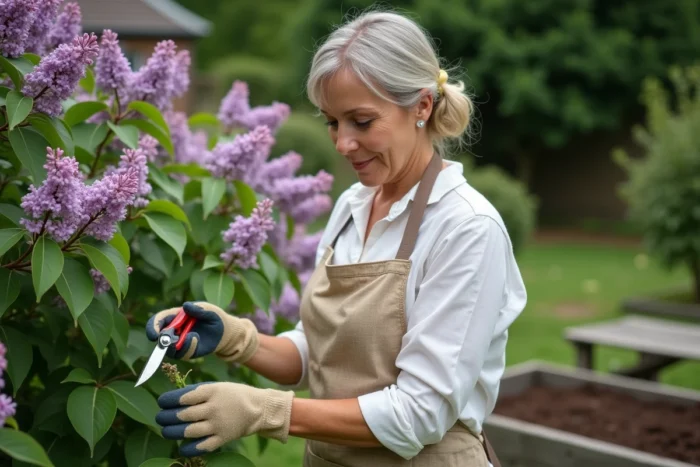
The lilac (Syringa vulgaris) propagates vegetatively, allowing for the production of a plant identical to the mother plant. Cuttings remain the most accessible method for gardeners, provided the right type of wood and the appropriate collection window are chosen. One often overlooked point of caution should be stated upfront: on a grafted lilac, only a cutting taken above the grafting point will reproduce the desired variety.
Grafted lilac or own-root: check before cutting
The majority of lilacs sold in garden centers are cultivars grafted onto a rootstock of common Syringa vulgaris. The graft union is generally located at ground level or a few centimeters above.
If the cutting is taken below this point, the resulting plant will be that of the rootstock, not the ornamental variety purchased. The flower, color, and growth habit may then differ completely from what was expected.
To identify the grafting point, look for a slight swelling or a change in bark texture at the base of the trunk. On an own-root lilac (not grafted), this constraint disappears: any aerial part is suitable. Mastering the techniques for propagating lilacs starts with this verification; otherwise, the result will be disappointing regardless of the method used.
Semi-ripe wood cutting: the most reliable window for lilacs
The lilac roots slowly. This characteristic explains why amateur nurserymen prefer semi-ripe wood, taken between June and early September. At this stage, the current year’s stem has begun to harden without being fully woody: it offers the best compromise between cellular flexibility and resistance to drying out.
Collection and preparation of the stem
Select a healthy lateral shoot, free of flowers or buds, about two to three internodes long. The lower cut is made just below a node, using disinfected pruning shears. Remove the lower leaves and keep only the two upper leaves, which you can reduce by half to limit evaporation.
Cutting below a node concentrates the natural auxins at the precise location where the roots should appear. Some guides recommend rooting hormone powder. It remains optional but can accelerate root formation on a species as slow as the lilac.
Substrate and placement
The substrate should be well-draining and light. A mixture of equal parts river sand and potting soil works well. Fill terracotta pots (the material regulates moisture better than plastic) and insert the cutting to one-third of its length.
- Water moderately after potting so that the substrate adheres to the stem without being waterlogged.
- Cover the pot with a transparent plastic bag or place it in a mini-greenhouse to maintain a humid atmosphere around the foliage.
- Set the entire setup in light shade, never in direct full sun, as excessive heat quickly dries out a small volume of substrate.
The formation of the first roots often takes several weeks. Never pull on the cutting to check for rooting: a slight resistance to touch after a few weeks is enough to confirm recovery.
Lilac cutting in water: possibilities and limits
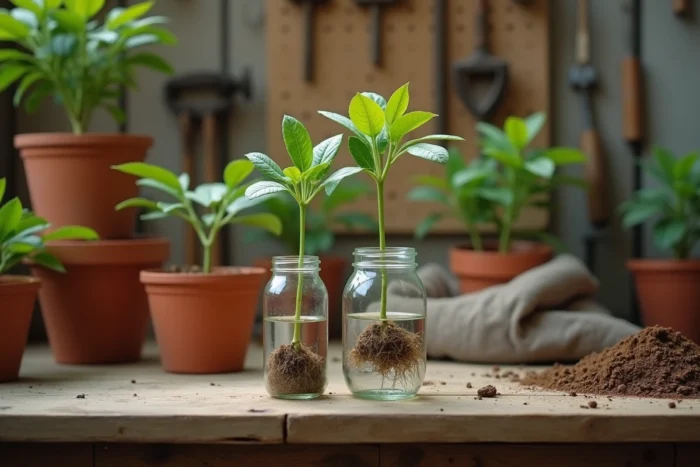
Placing a lilac stem in a glass of water is tempting due to its simplicity. Some roots may indeed appear, especially on softwood taken in spring. The problem arises at the time of transfer to soil: roots formed in water are fragile and adapt poorly to the substrate.
The survival rate after transplanting remains significantly lower than that of a cutting directly installed in a pot. This method can be a stopgap to observe the process, but it is not recommended if the goal is to obtain a vigorous plant.
Collection of suckers: the alternative to classic cuttings
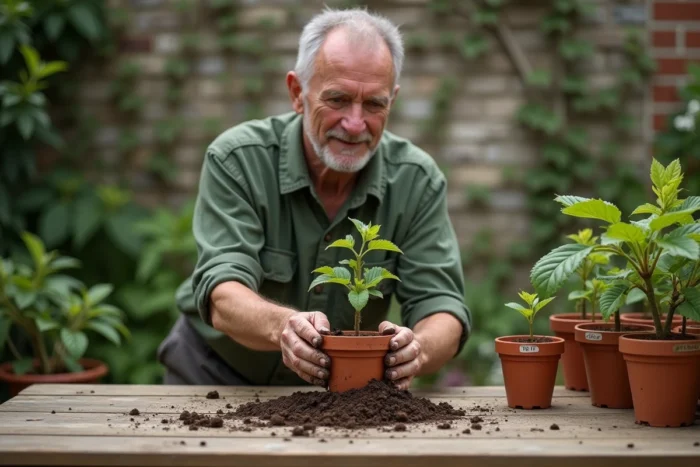
The own-root lilac naturally produces suckers, these shoots that emerge from the ground near the mother plant. Each sucker already has its own root system, making its transplantation much quicker than a classic cutting.
The collection takes place in spring or autumn. Clear the soil around the sucker to identify its connection point with the main root, then cleanly cut it with a spade or pruning shears. Replant immediately in a prepared hole, water generously, and mulch.
On a grafted lilac, the suckers often arise from the rootstock. They will therefore not reproduce the grafted variety. This trap aligns with the verification of the grafting point described earlier.
Care after cutting and delay before final planting
Regardless of the method chosen, patience remains the determining factor. The lilac roots slowly, and young plants benefit from staying in pots for two to three years before being planted in the ground.
- Keep the substrate slightly moist without excess, especially during heat episodes that quickly dry out a pot.
- Repot into a slightly larger container as soon as the roots fill the initial pot.
- Protect cuttings from frost in the first year by sheltering them against a wall or in a cold frame.
At the time of final planting, choose a sunny location and well-drained soil. The lilac tolerates calcareous soils and supports varied conditions, but it blooms less in the shade.
A propagated lilac generally takes longer to flower than a grafted specimen. The first flowers often appear after three to five years of cultivation, depending on the vigor of the plant and soil conditions. This delay is normal and does not indicate a failure in propagation.