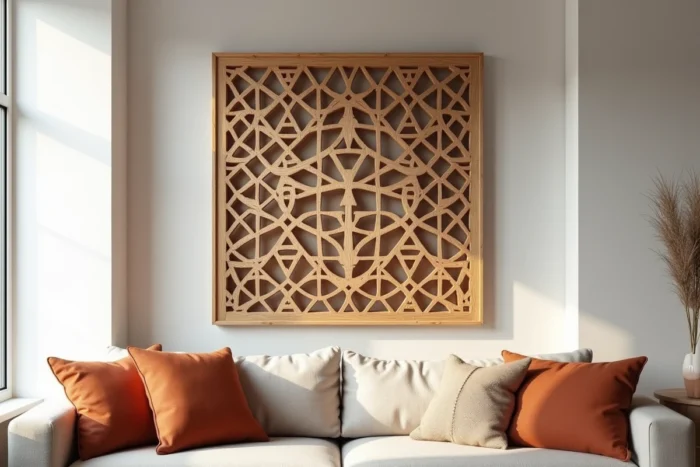
The wooden moucharabieh is no longer confined to the traditional facades of the Middle East. This perforated panel with geometric patterns is now installed in French interiors as a partition, door covering, or wall decoration element. Since the revision of NF DTU 36.2 published in November 2025, decorative panels and slatted wall coverings officially fall under interior carpentry and layout, providing a technical framework for this type of construction.
Making a moucharabieh yourself remains accessible, provided you choose your wood carefully, understand the assembly logic, and do not underestimate the finishing. The result depends less on the tools than on the preparation.
Moucharabieh with battens: the most accessible method to start
Online tutorials often show creations based on CNC-cut MDF panels. For those without a digital milling machine, the assembly with crossed battens remains the most realistic approach. The principle is simple: square or rectangular battens are fixed onto a supporting frame, staggered or in a grid, to form a regular pattern.
The choice of batten section determines the finish. Small section battens (around 10 x 10 mm) give a fine and dense effect, close to the traditional moucharabieh. Wider sections (20 x 20 mm or 20 x 40 mm) produce a more contemporary result, resembling an interior screen.
The spacing between the battens affects the transparency of the panel and the play of light projected onto the walls. The closer the spacing, the more pronounced the light filtering. For a room separation between a living room and an entrance, a ratio of one-third void to two-thirds wood offers a good compromise between intimacy and light circulation.
The dimensions, patterns, and installation spacing should be planned on a scaled drawing before any cutting. Several resources detail the steps, including the wooden moucharabieh guide on Habitat Expo which discusses templates and pattern repetition calculations.
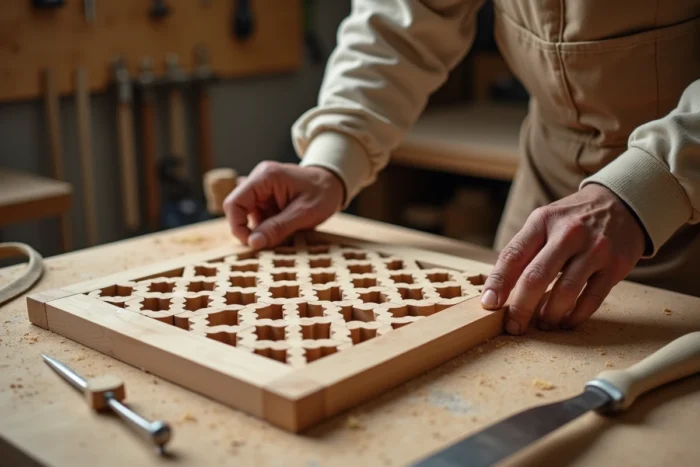
Choosing wood for an interior moucharabieh: species and formats
MDF remains the most commonly used material in moucharabiehs sold as pre-cut panels. It paints well, is inexpensive, and is easy to work with a jigsaw. However, its edges absorb moisture and swell, making it unsuitable for wet areas without serious edge treatment.
Beech and oak are better suited for durable constructions. Beech turns well, which explains its historical use in traditional moucharabiehs assembled from small turned pieces. Oak offers superior hardness and a grain that adds character to the panel without requiring paint.
For a batten project, pine or poplar are economical options. Poplar, light and soft, sands quickly and takes light stains well. Pine, more knotty, requires sorting of the battens to avoid deformations caused by through knots.
- MDF: inexpensive, easy to paint, but sensitive to moisture on the edges. Suitable for decorative wall panels not exposed to water splashes.
- Beech: fine grain, turns and carves well. Preferable for traditional assemblies with interlocking pieces.
- Oak: durable, veined, suitable for partitions and sliding doors that undergo frequent handling.
- Pine or poplar: economical for a first batten project, provided the pieces are sorted and the wood is stabilized before assembly.
Assembly and fixing of a custom moucharabieh panel
The strength of a moucharabieh relies on its frame. A perimeter frame made of sufficiently sized battens (30 x 50 mm minimum for a one-meter-wide panel) prevents warping. The frame must be assembled squarely and checked diagonally before fixing the interior elements.
For grid patterns, gluing with PVA wood glue is sufficient if the panel remains fixed (wall decoration, radiator covering). For a freestanding partition or a sliding door, half-laps at the intersections reinforce the mechanical hold. Each intersection is notched to half thickness in both battens, allowing for a flat interlocking.
Fixing to the wall or ceiling
A moucharabieh panel hung on the wall is placed on support battens screwed into the wall, hidden behind the frame. This technique creates a few centimeters offset from the wall, amplifying the cast shadows.
A panel suspended from the ceiling by steel cables serves as a lightweight separation between two areas of a living room or between a hallway and a living space. The weight of the panel must be distributed over at least two fixing points in joists or suitable anchors for the support.
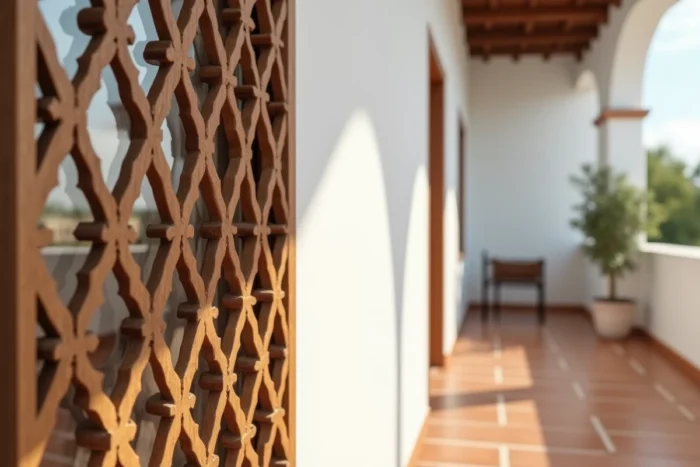
Finishing a wooden moucharabieh: what tutorials overlook
Most tutorials stop at assembly. However, finishing makes the difference between a panel that looks like a garden screen and a moucharabieh that holds its place in a well-designed interior.
Sanding the edges deserves special attention. Slightly rounded edges with 180-grit sandpaper eliminate the raw appearance and give an impression of a crafted piece. On soft woods like pine, a pass with a damp sponge between two sandings raises the fibers and allows for a smoother result after the final pass.
The staining depends on the desired style. A white or light gray stain modernizes the panel and integrates it into a design interior. A matte varnish on raw oak leans towards a warmer aesthetic. Opaque paint masks the grain but unifies the pattern, enhancing the graphic effect of the shadow play.
The revised NF DTU 36.2 specifies that the appearance of finished interior carpentry works is assessed at 1.65 m height and 2 m distance under non-raking light. This criterion, designed for professionals, provides a useful benchmark: if alignment defects or excess glue are not visible under these conditions, the panel is considered visually compliant.
- Sand progressively (120 grit then 180) all visible faces, including the inside of the openings.
- Dust with a microfiber cloth before each finishing coat.
- Apply two thin coats rather than one thick coat to avoid drips in the corners of the pattern.
A handmade moucharabieh always carries slight irregularities. These variations are part of the character of the piece and distinguish it from an industrially cut panel. The last point of vigilance remains the dimensional stability of the wood: a panel placed in a heated room without prior acclimatization risks moving in the following weeks, with creaking or irregular gaps between the battens.